This article guides you to install and activate Malwarebytes for Windows. If you have purchased a license key or just want to use the free version, no difference.
Installation prerequisites for Malwarebytes for Windows v4
Before starting, review the items below to ensure a successful installation of Malwarebytes for Windows.
- An active internet connection is required.
- Temporarily disable the following to install:
- Third-party anti-virus software
- Firewall
- VPN or proxy settings
- Run the installer locally on your device and not from a network drive.
- Reboot the system immediately when the installer requests a restart. The installer should launch automatically. Do not attempt to start Malwarebytes manually.
- If you are running Windows 10 S mode, you will need to disable it. S mode is a version of Windows 10 that’s streamlined for security and performance. It only allows installation of apps downloaded from the Microsoft Store.
- To verify the Windows version you are running, see Which version of Windows operating system am I running?
- To disable S mode, see Windows 10 in S mode FAQ.
- Provide a license key to activate.
Download and install Malwarebytes for Windows v4
To start using Malwarebytes on your Windows computer, download and install the latest version of Malwarebytes for Windows
1. Download the latest version of Malwarebytes for Windows.
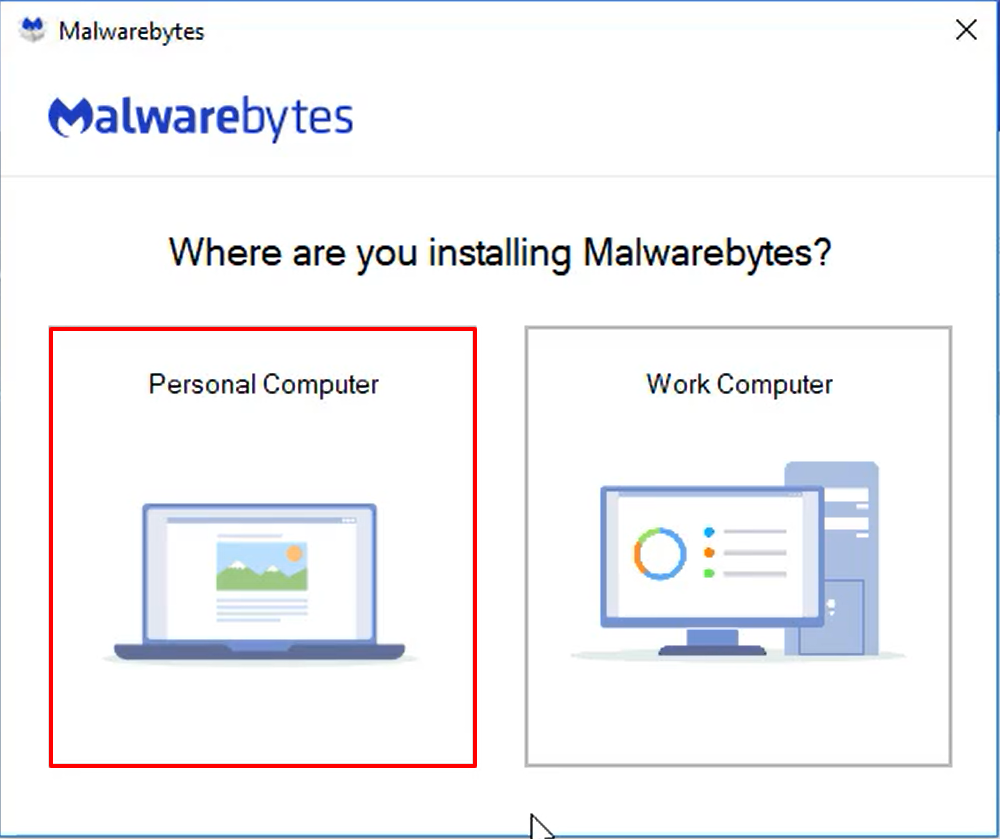
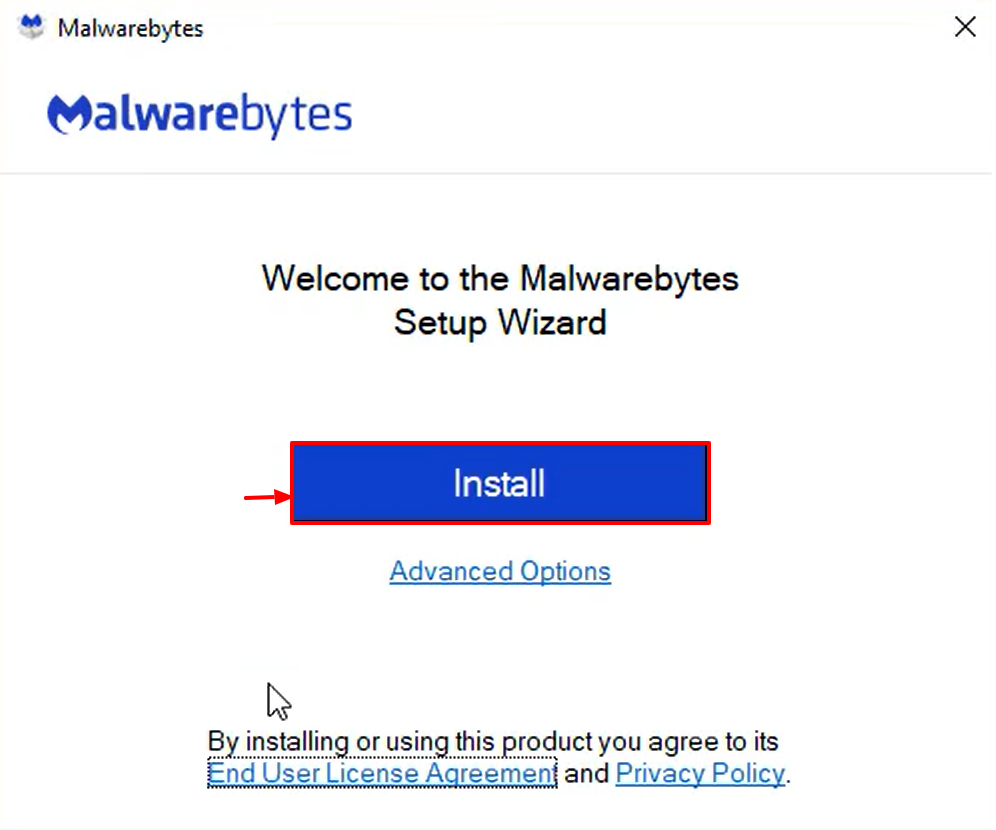
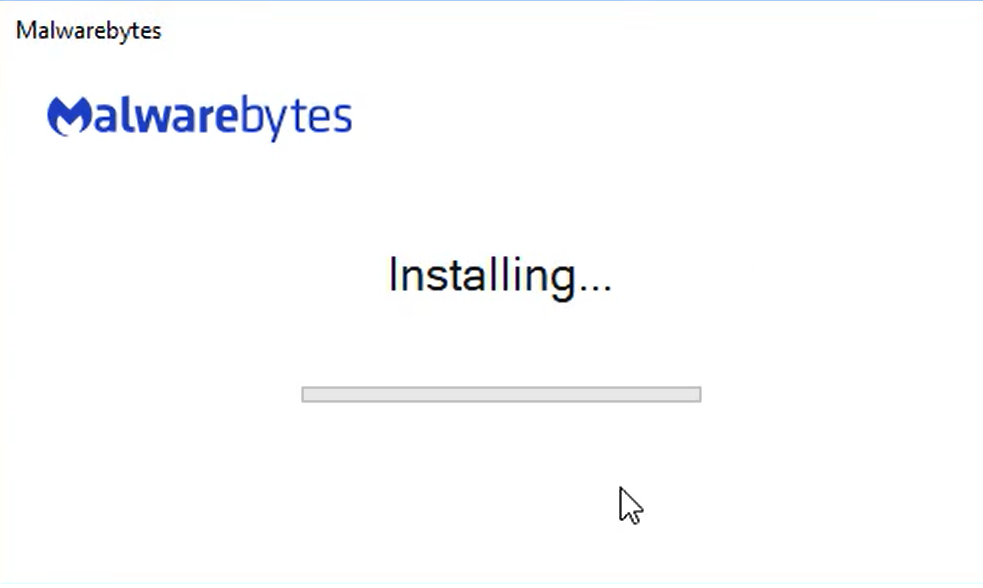
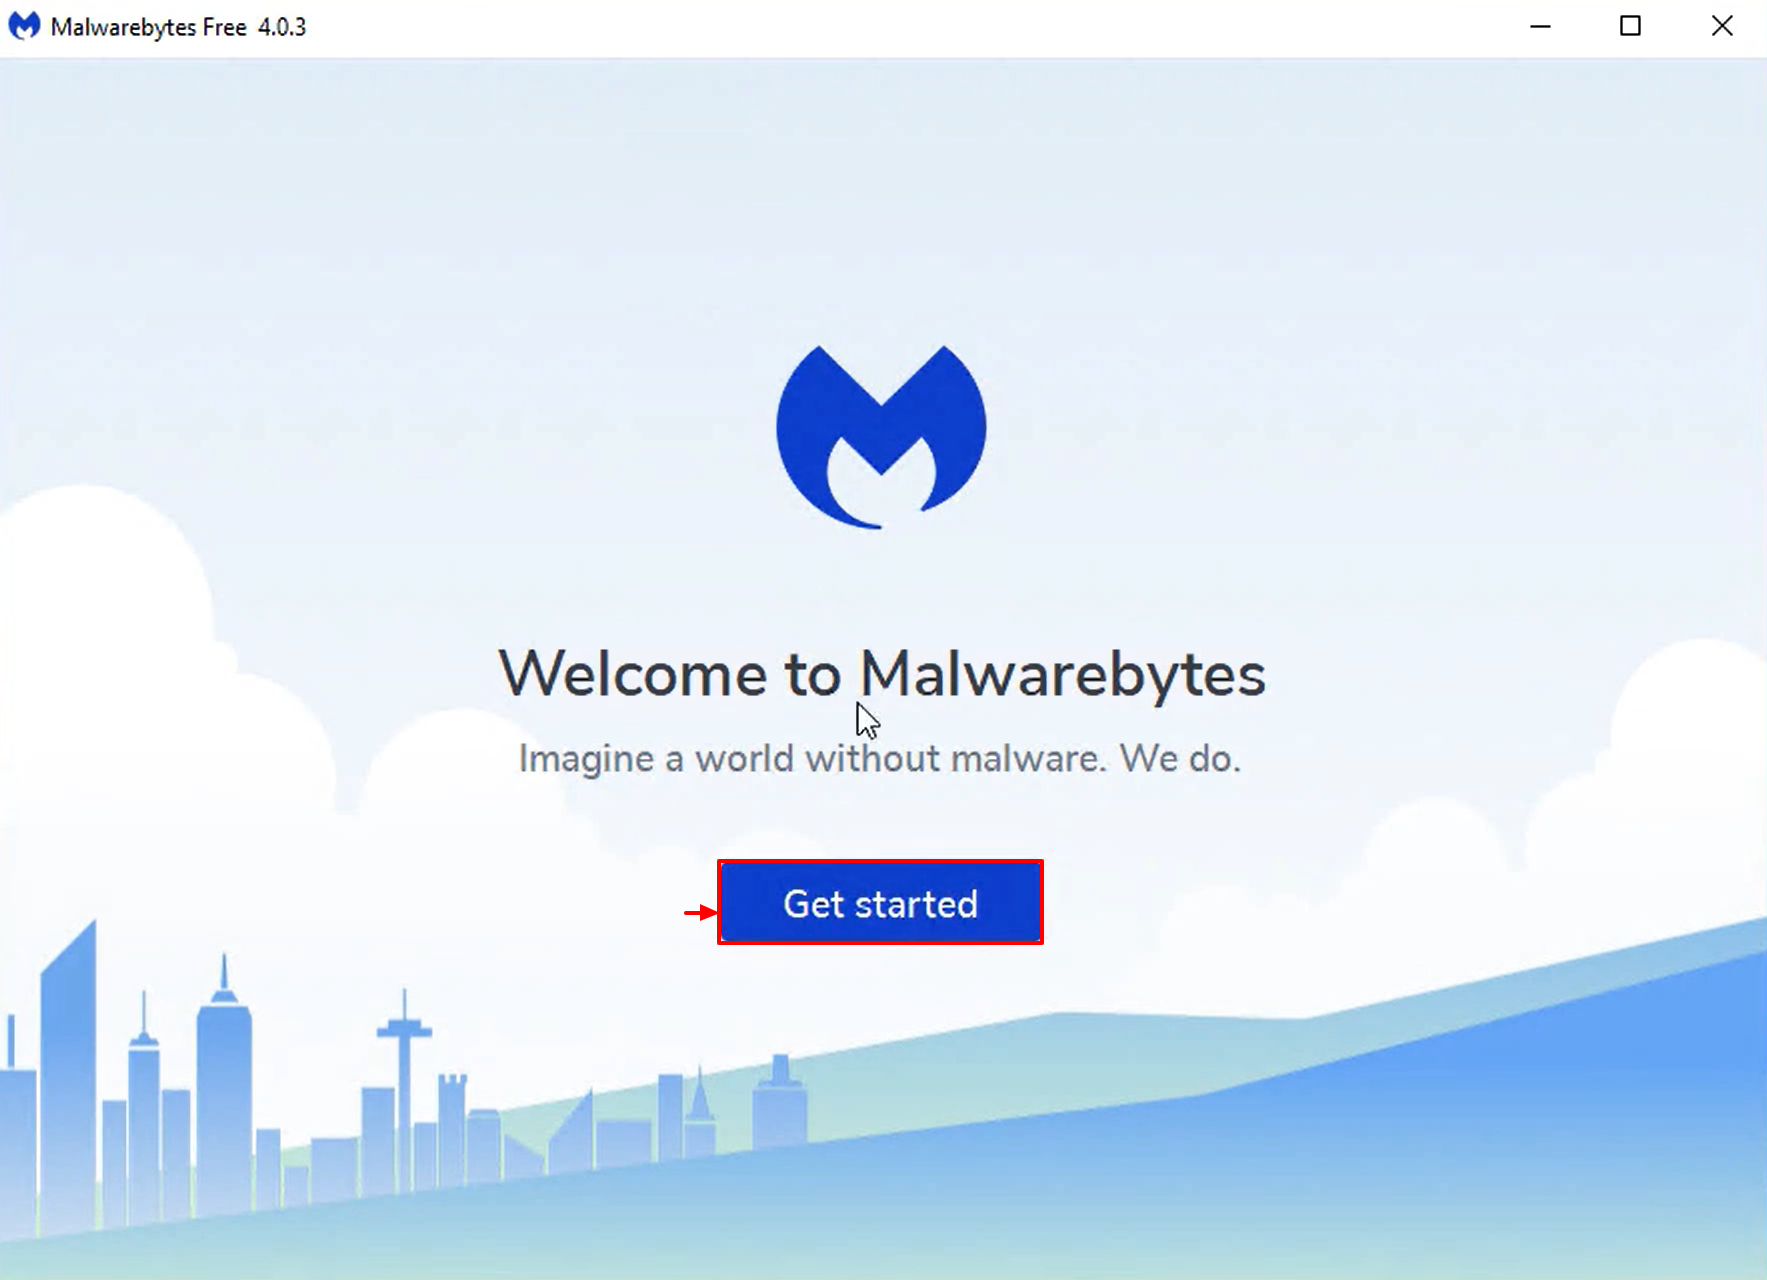
2. Then run the setup file Mbsetup.exe.
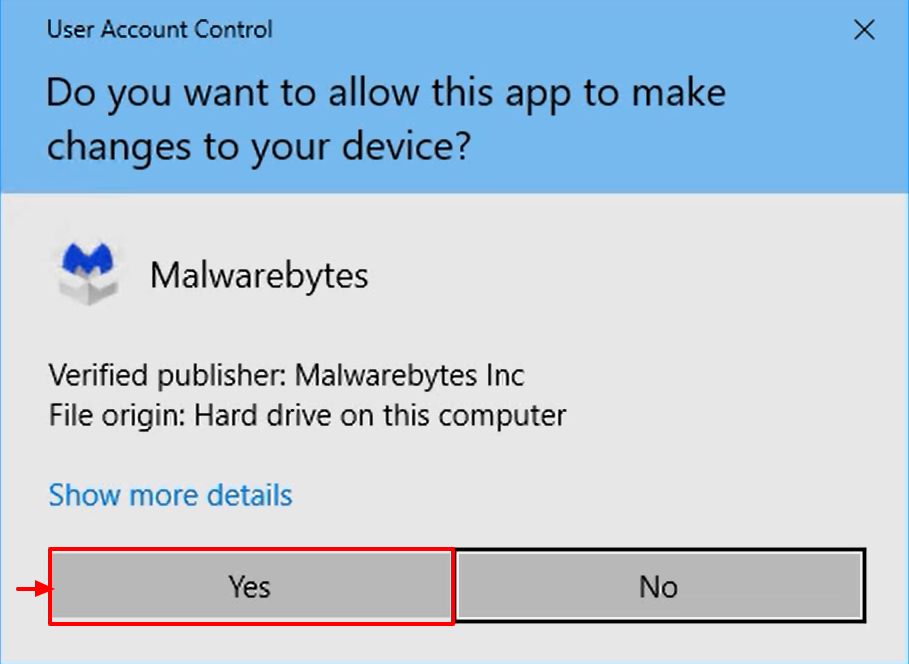
3. When User Account Control appears, click Yes.
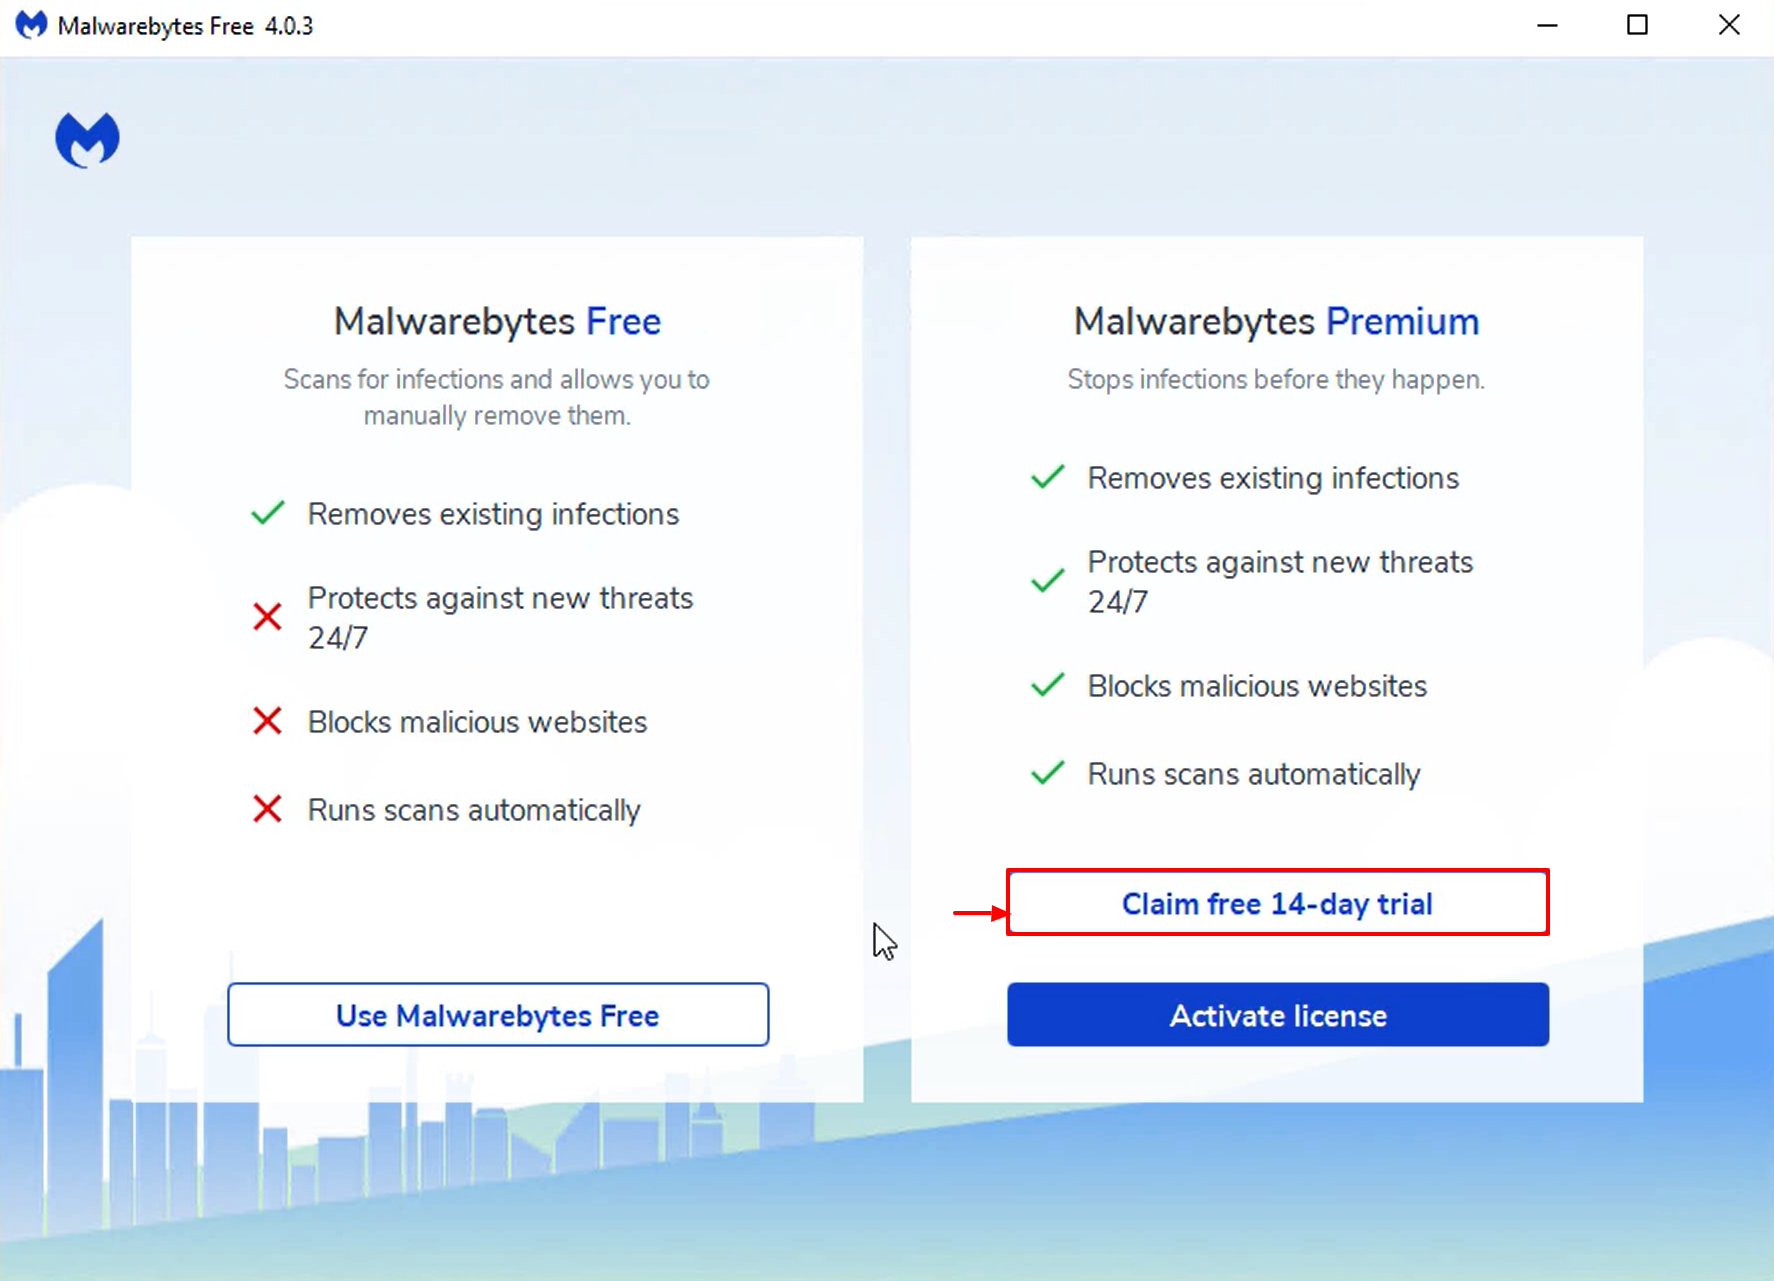
8. Malwarebytes asks if you would like to use either the Malwarebytes Free version or the Malwarebytes Premium version. Click one of the following buttons:
- Use Malwarebytes Free: To use the Malwarebytes Free version. This version only removes existing infections and has no proactive protection.
- Claim free 14-day trial: This button only appears if it is your first time installing Malwarebytes on your machine. Click this button to unlock Malwarebytes Premium features for 14 days. You must provide an email on the following screen to activate the trial.
- Activate License: To input a license key that activates a Malwarebytes Premium subscription. For more details, see Activate Malwarebytes Premium subscription in Malwarebytes for Windows v4.
Click on Claim free 14-day trial button. Then input your email on the corresponding field on screen that will appear. Malwarebytes is successfully installed on your Windows device.
Activate Premium subscription in Malwarebytes for Windows v4
Activating Malwarebytes for Windows enables Premium features such as Real-Time Protection and Scan Scheduler. If you do not have a Premium license key, visit the Malwarebytes category to purchase a Premium subscription
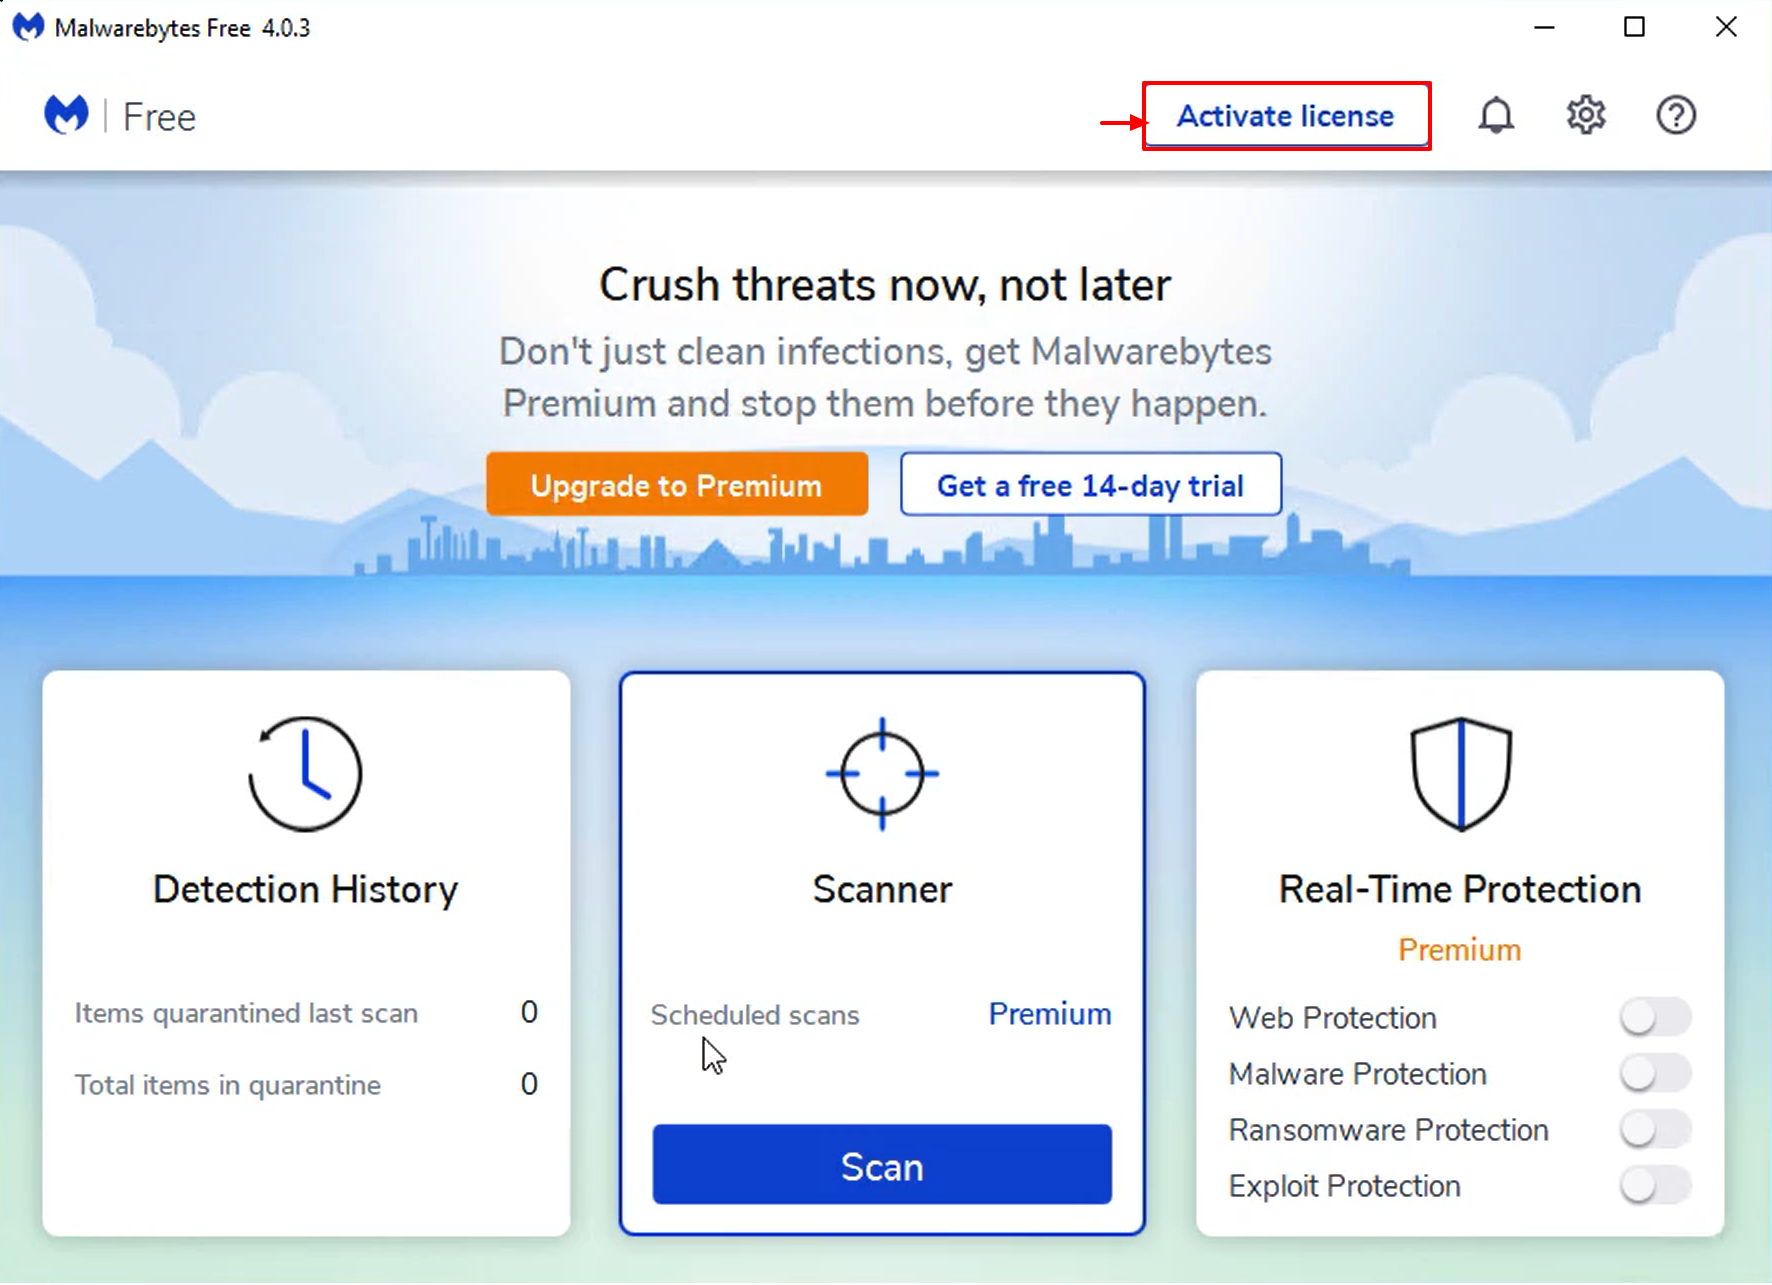
- Open Malwarebytes for Windows.
- Then click the Activate license button.
3. Click the text box under the License key, then enter your key.
4. If you have an ID, click the switch next to My license came with a License ID.
Click the text box under License ID, then enter your ID.
IMPORTANT: If you do not have an ID, do not click the switch and continue to step 5.
5. Click the Activate button.
When Malwarebytes Premium on Windows is activated, Premium displays in the top-left corner of the program Dashboard. Run your fist scan.
Source : Malwarebytes Website
Related Articles
Malwarebytes for Windows version 4 offline installer
Malwarebytes for Windows v4 Malwarebytes is one of the most popular security software to defend your PC against...
Upgrade to the latest version of Malwarebytes for Windows
How do I upgrade to the latest version of Malwarebytes for Windows? It's our recommendation to upgrade to the latest...
Install and Activate Malwarebytes for Android device
This article guides you to install and activate Malwarebytes for Android. If you have purchased a license key or just...









0 Comments